INSTALLATION GUIDE
Go Moto Mount
Installation takes ±10 min  ·  take your time, don't rush
Package Contents

What's in
the box

Verify all items before starting. If anything is missing, contact us at go-moto.com/support within 30 days.
Go Moto Mount
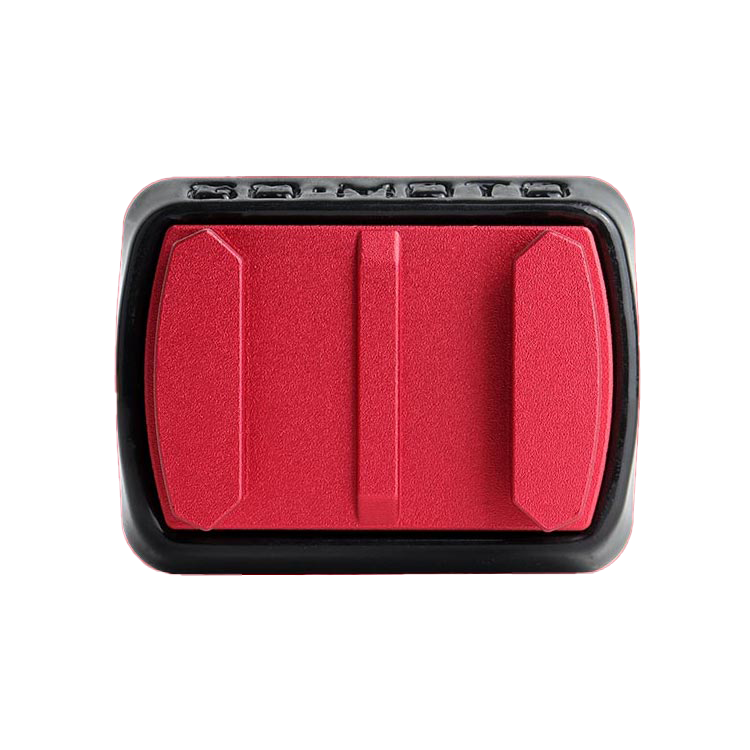
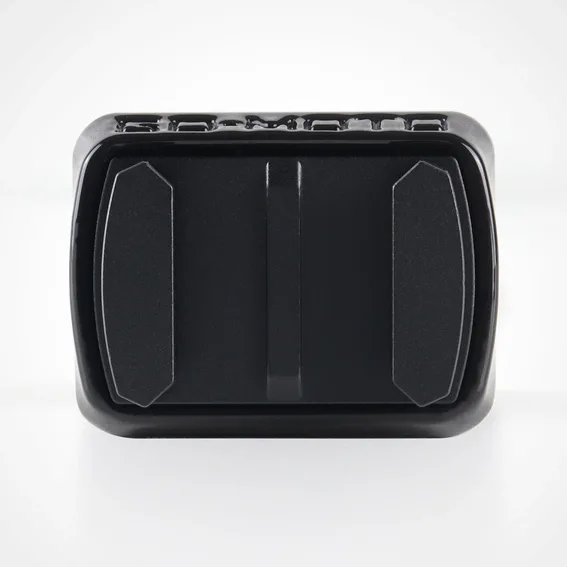
Go Moto 3D Fit Chin Mount
×1 — Custom fit for your helmet
Go Moto Mount
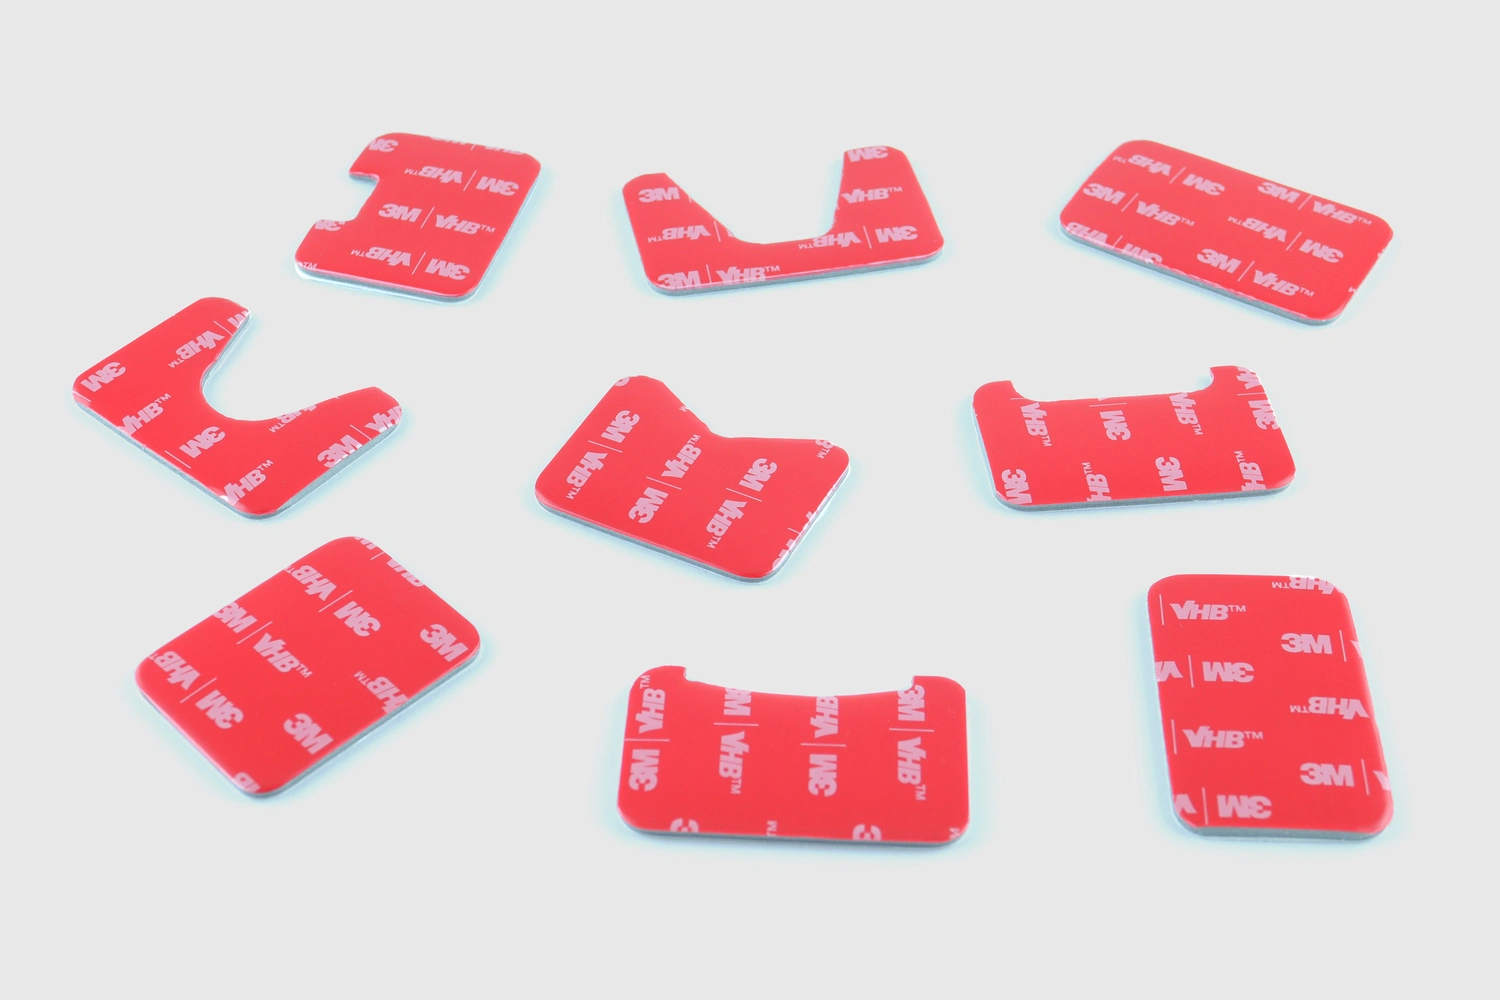
3M VHB 4991 F Adhesive
×1 — Pre-applied to the mount
Go Moto Mount
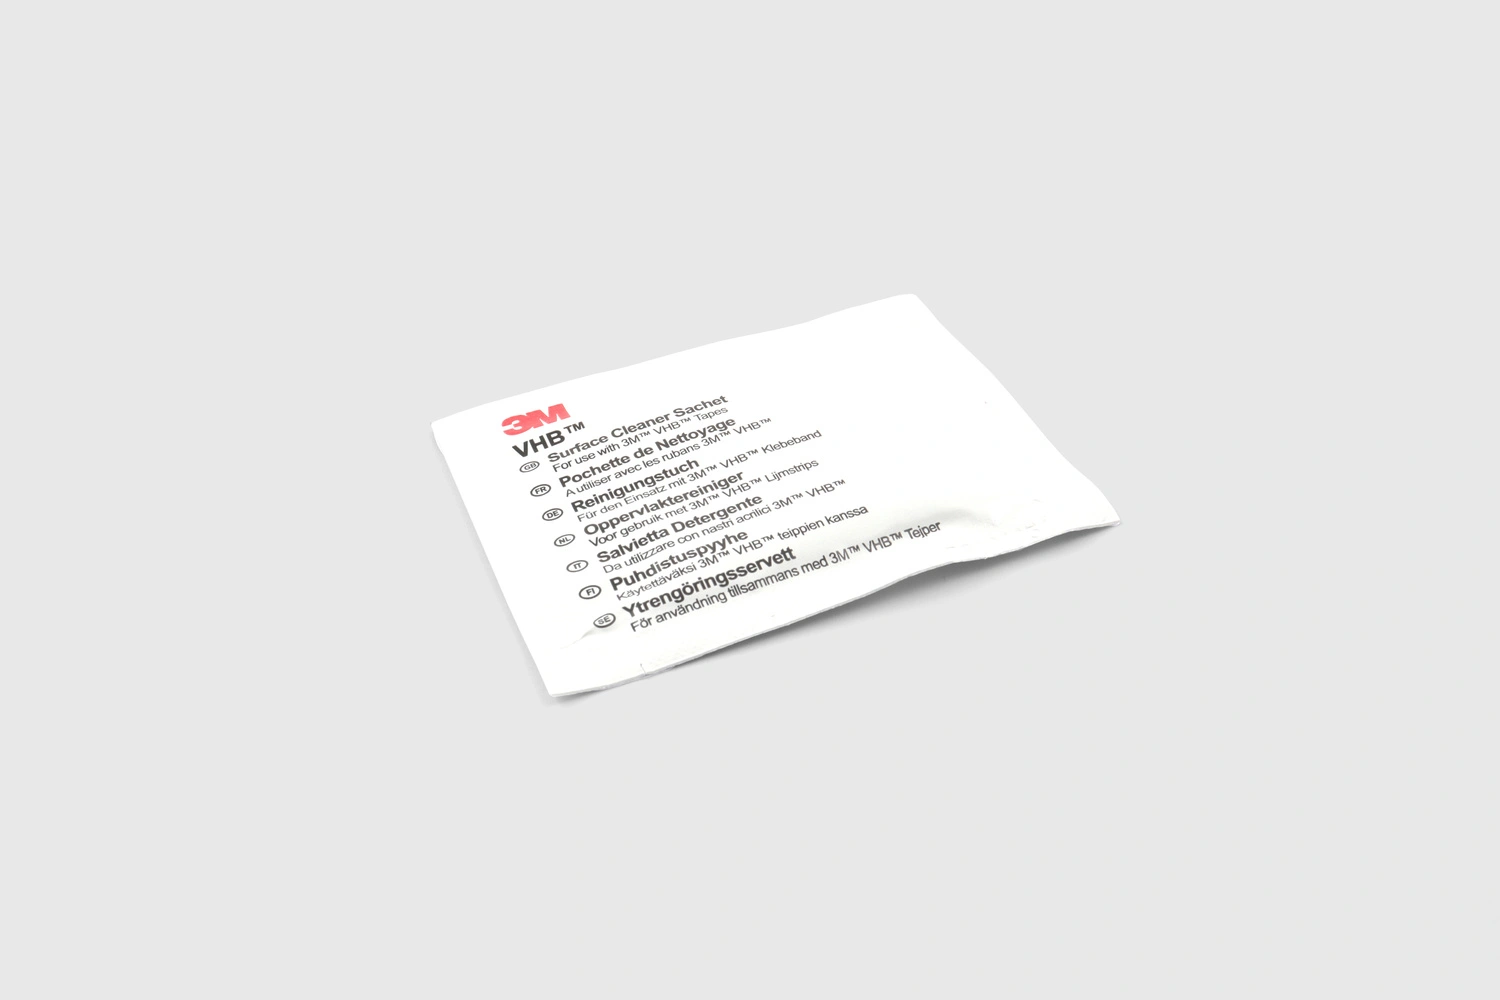
3M VHB Surface Cleaner
×1 — For final alcohol clean before install
Go Moto Mount
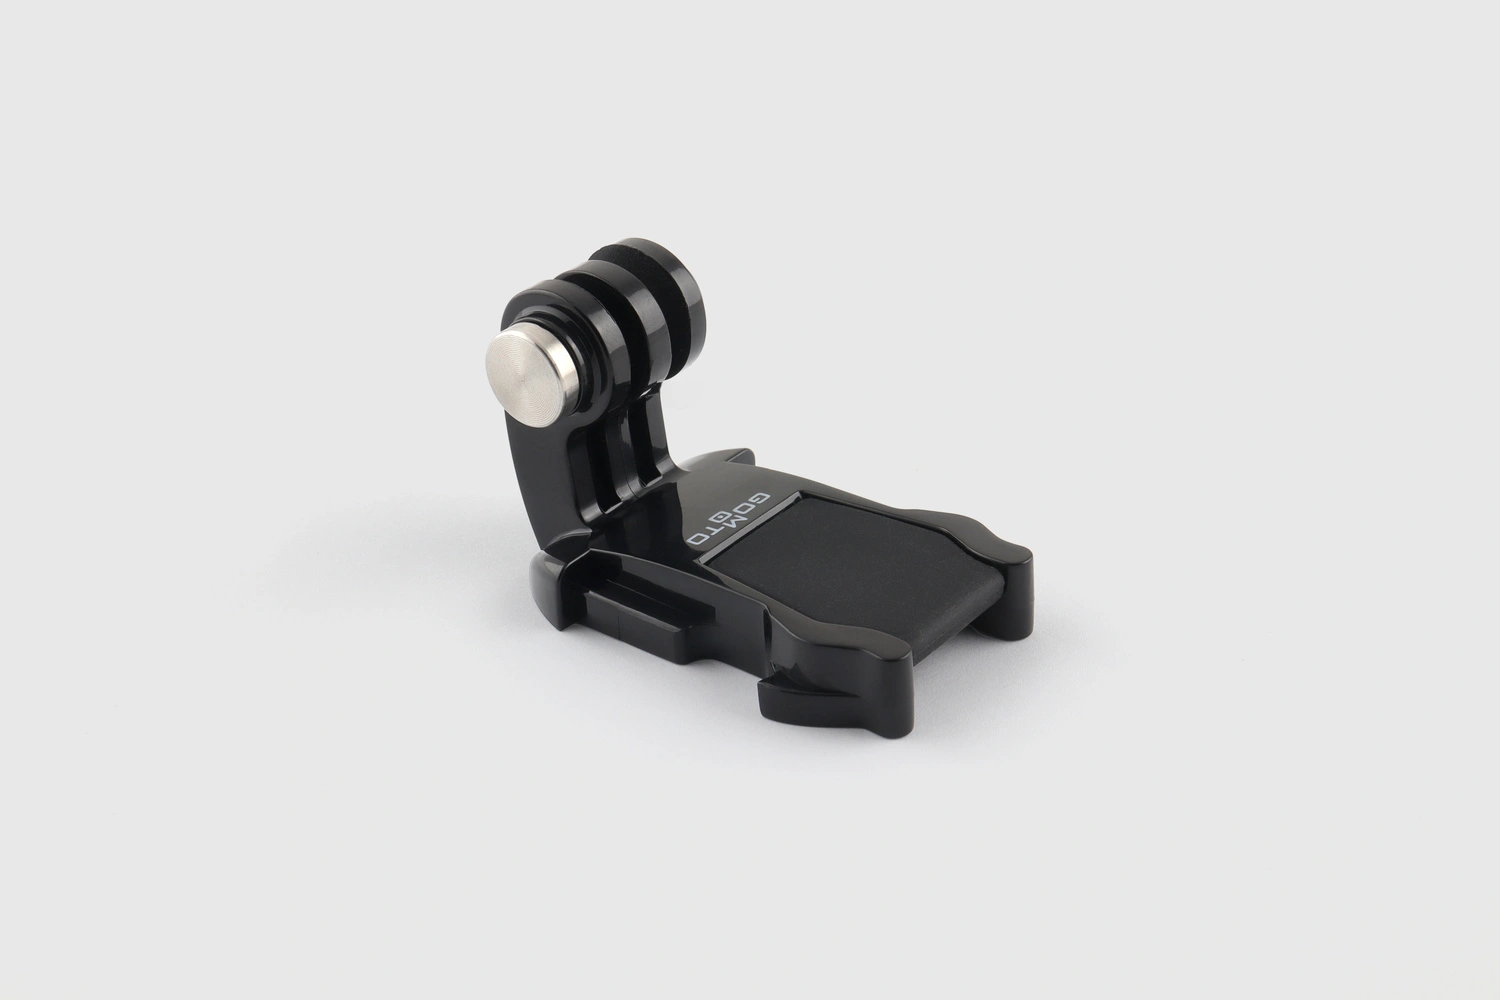
Low Profile Buckle Mount
×1 — Camera adapter
Go Moto Mount
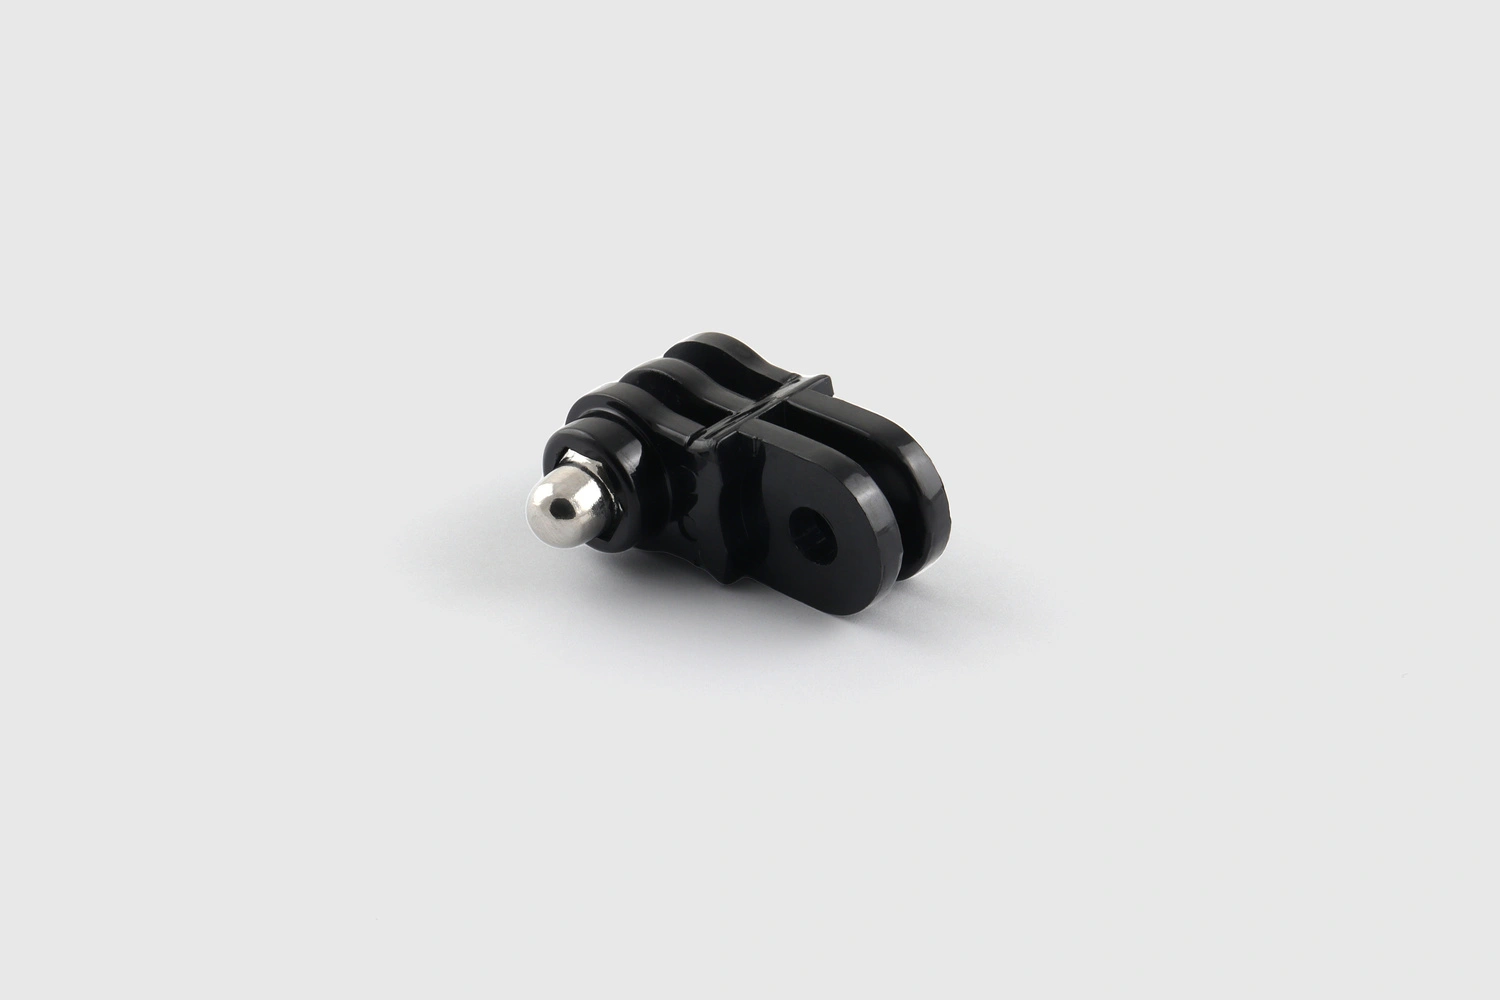
Short Extension Arm
×1 — For positioning flexibility
Go Moto Mount
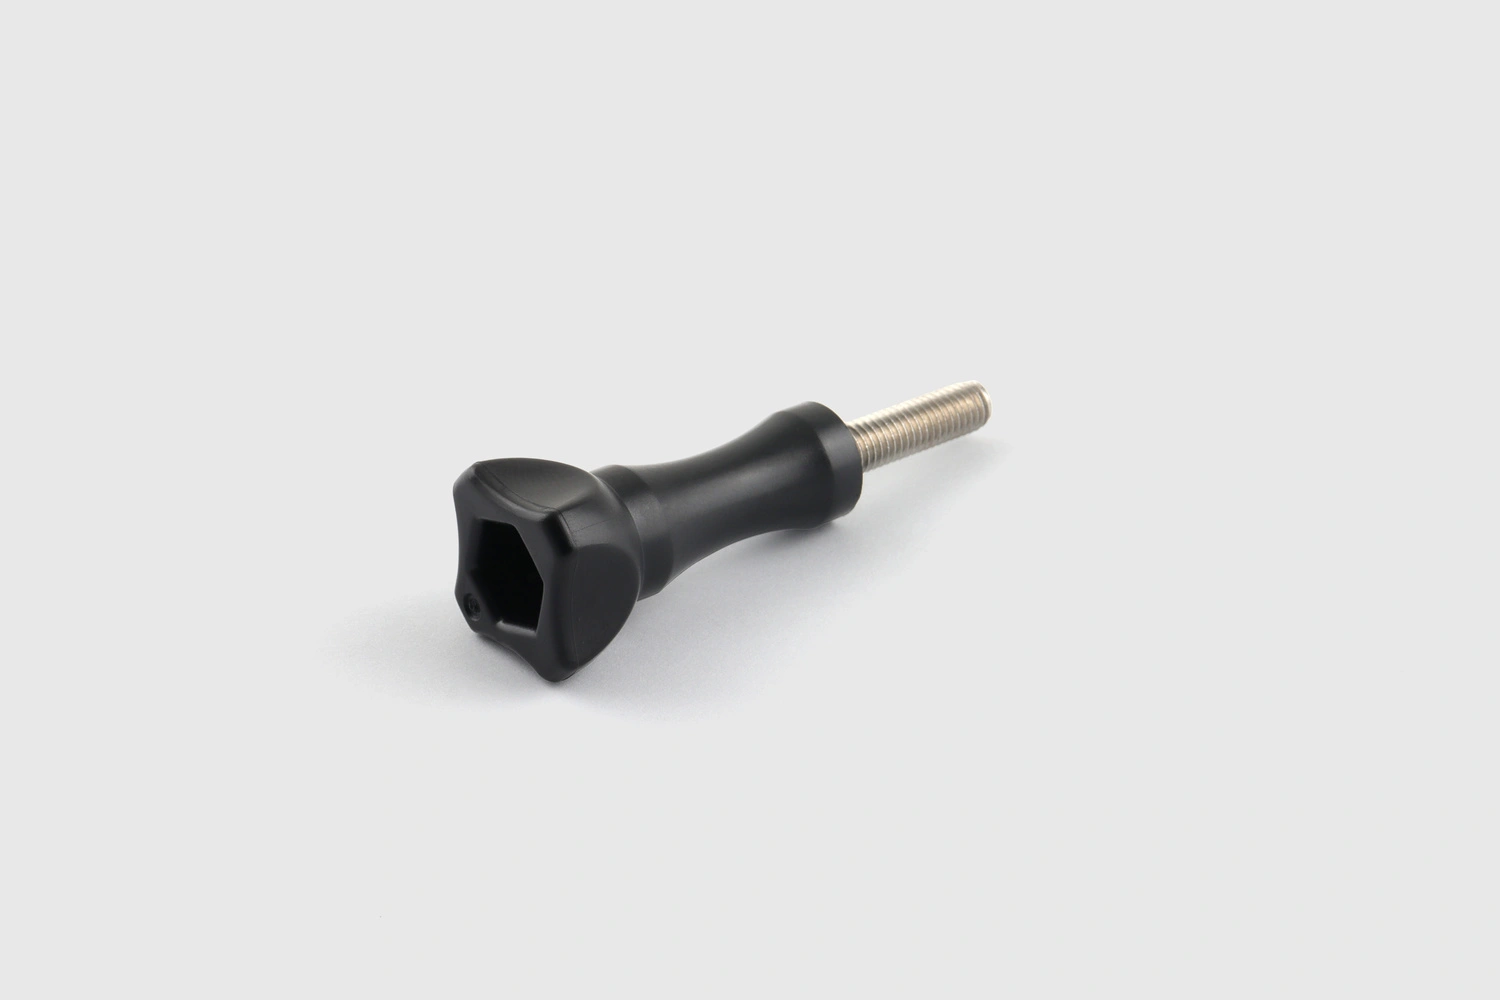
Thumbscrew
×1 — Tool-free camera lock
Go Moto Mount
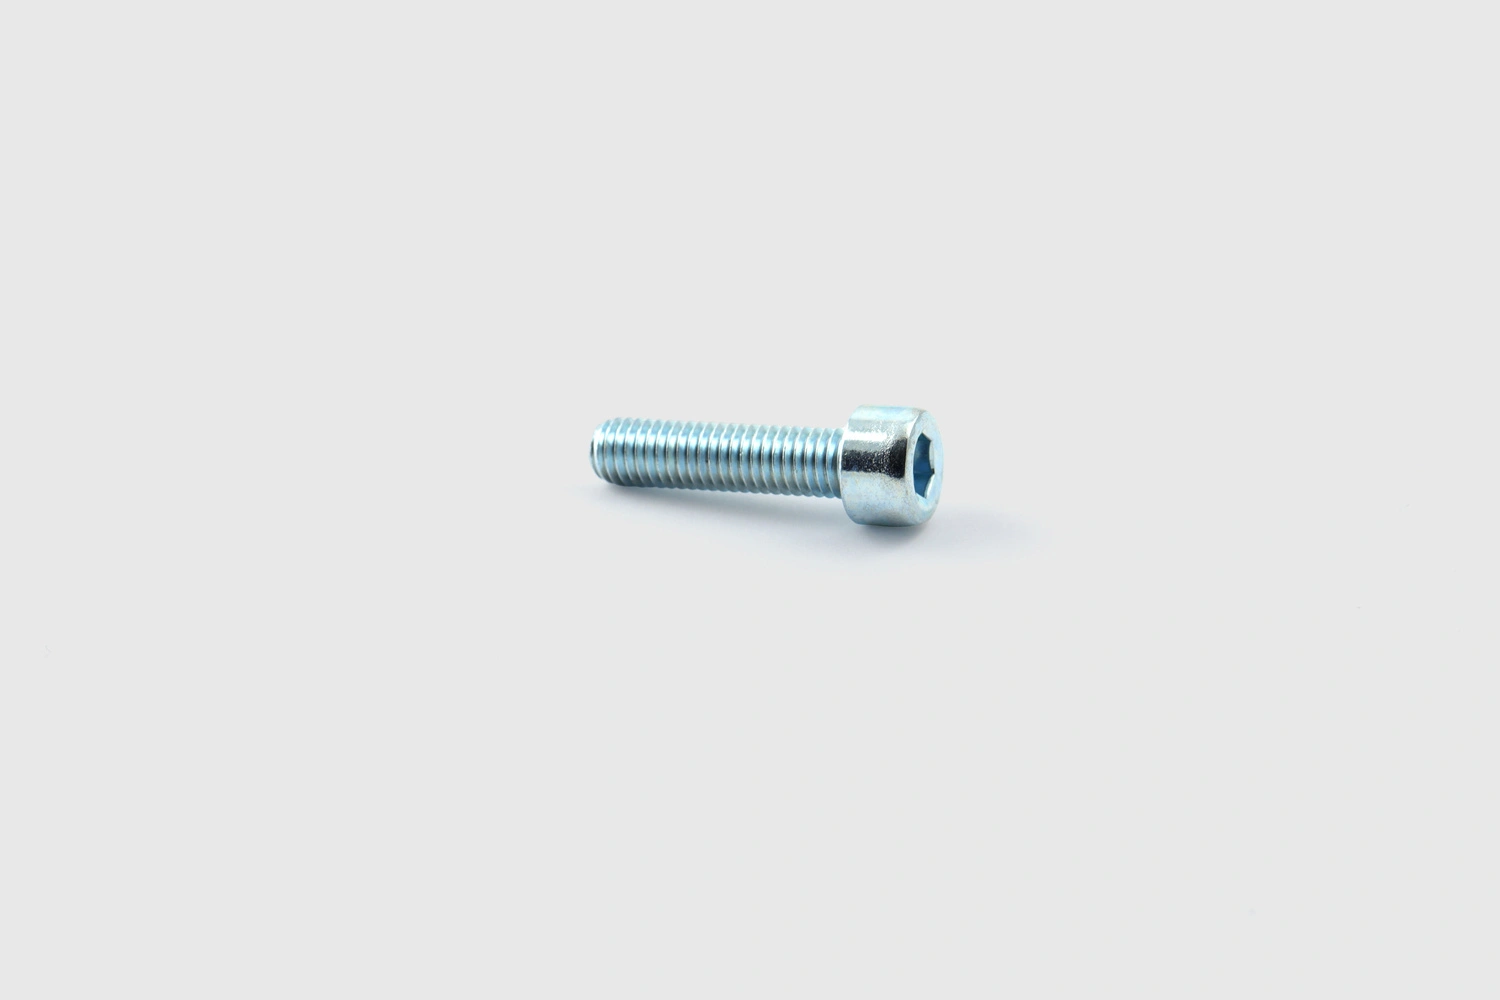
Low Profile Bolt
×1 — For secure camera attachment
Go Moto Mount
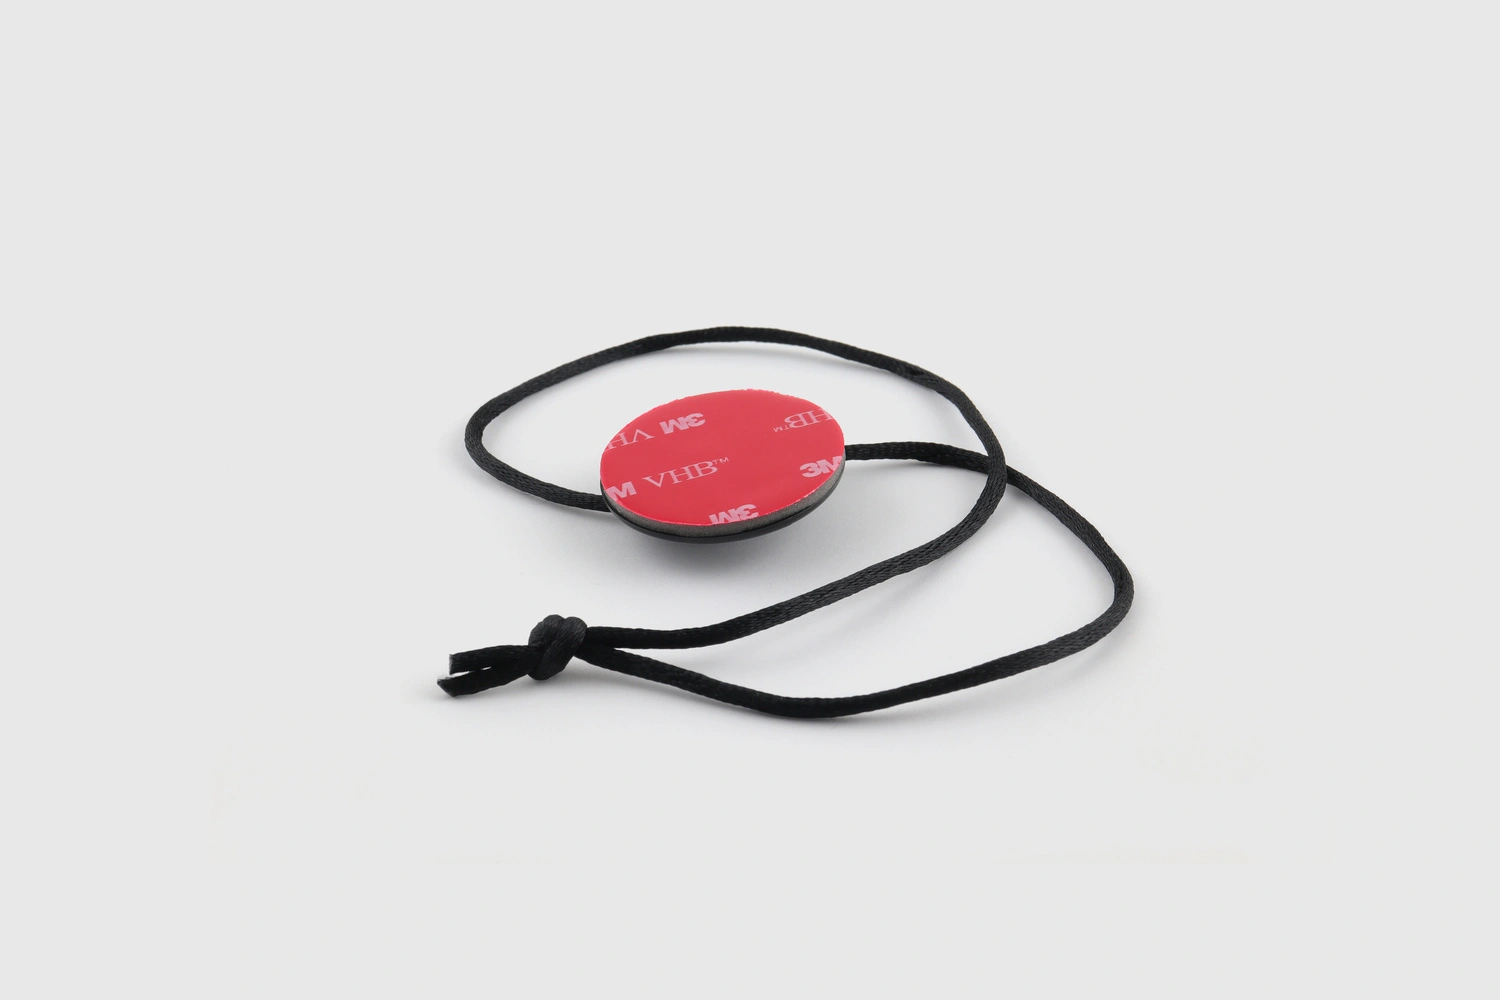
Safety Tether
×1 — Camera retention backup
Installation Guide
×1 — This document
Hair Dryer or Heat Gun
Not included — required for install
Spare adhesive available separately
Need to remount? Order a Spare Adhesive Kitselect your helmet and add a spare kit to your cart. Includes a pre-cut 3M VHB adhesive pad and 3M surface cleaner.
Critical Step · Most mount failures start here. Don't rush.
Step 1 of 3 — Before Applying

Surface
Preparation

All four steps below are required. Skipping even one is the leading cause of adhesive failure and mount detachment while riding.

Coming soon
01
Find the Right Spot
Hold the mount (red film still on) against the helmet. Check from front and side — the base must sit completely flat. No ridges, vents, or curves underneath. Check the product images on go-moto.com for your specific mount to see exactly where it should be placed. Optional: mark the spot lightly with a pencil, marker, or a strip of masking tape along the edge as a placement guide.
✕ Don't mount anywhere other than the position shown in the product images on the website
Coming soon
02
Wash with Warm Soap & Water
Wash the marked area with warm water and a proper degreasing dish soap — Dreft or any washing-up liquid works well. Scrub firmly, rinse thoroughly, and let it dry. Do not use shower gel, shampoo, or all-purpose cleaner.
⚠ New helmets have a factory wax coating that may prevent the adhesive from bonding. This soap wash removes it — don't skip it, scrub firmly.
✕ Use real dish soap only (e.g. Dreft) — shower gel won't remove the wax layer
Coming soon
03
Wipe with the Alcohol Pad
Once dry, wipe the spot firmly with the included 3M isopropyl alcohol pad. Wipe outward — away from the centre of the mounting spot — so all dirt and residue is swept off the area. Wait 60 seconds for full evaporation before the next step.
✕ Don't touch the cleaned area with bare fingers after this — skin oils will break the bond
Coming soon
04
Warm the Helmet Surface
Hold a hair dryer 10–15 cm from the installation spot. The surface should feel pleasantly warm — not hot. A warm surface dramatically improves adhesive bonding quality.
✕ Don't overheat — keep the dryer moving, never hold it still. Too much heat can damage the paint or shell
Step 2 of 3 — Mounting

Installing
the Mount

Once the surface is washed, alcohol-wiped, warmed and marked, follow these steps to permanently attach the mount.

1/
Heat the adhesive
Hold a hair dryer 8–10 cm from the red adhesive pad on the back of the mount. Heat for at least 60 seconds — but time alone isn't the goal. The entire adhesive pad must be fully warm throughout, not just warm on the surface. With a weaker dryer this takes longer. The pad should feel genuinely hot to the touch before you peel the film.
↑ Complete all 4 surface prep steps before this
Coming soon
2/
Peel the red film
Remove the red protective film from the back of the mount — only once the adhesive is warm. Don't let the exposed adhesive touch anything before placing it on the helmet.
Coming soon
3/
Align with your mark (optional)
If you marked the spot in step 1 of Surface Prep — with a pencil, marker, or a strip of masking tape along the edge — use it as a guide to position the mount carefully before making contact. Once the adhesive touches the surface, it begins bonding immediately — you won't get a second chance.
Coming soon
4/
Press as hard as you can — for at least 60 seconds
Place both thumbs — or your full palm — across the base of the mount and press as hard as you can for at least 60 seconds. While pressing, gently massage the entire mount with your thumbs / palm — moving slowly across the whole surface ensures the adhesive makes full contact everywhere.
Coming soon
5/
Wait before your first ride
The 3M VHB adhesive needs time to fully cure. It can be used after 24 hours, but we always recommend waiting 72 hours for 100% bond strength. Do not mount a camera or put the helmet under any load during curing. Avoid vibration, moisture, and extreme heat.
Coming soon
Heat duration
≥ 60 s
Fully warm throughout — longer with a weaker dryer
Press duration
60 s
As hard as you can
Cure time
72 h
/ min. 24 h
72 h recommended, 24 h minimum
Step 3 of 3 — Camera

Setting Up
Your Camera

After the curing period the mount is ready. Time to get your camera set up!

1/
Attach your camera to the buckle mount
Place your camera into the buckle mount and secure it firmly with the thumbscrew. Make sure the camera doesn't wobble — tighten until it is completely locked in place.
Coming soon
2/
Click the buckle into the chin mount
Lift the rubber safety flap on the chin mount. Slide the buckle in from the front until it clicks. Press the rubber safety flap back firmly into place — this locks the buckle and prevents it from releasing while riding.
↑ Safety flap must be fully pressed back down before riding
Coming soon
3/
Set your angle
Loosen the thumbscrew slightly, point the camera to the desired angle, and retighten. Aim slightly upward — your chin tends to point down while riding. A 10–15° upward tilt usually gives the best framing. Sit on your bike and check your footage first before heading out.
↗ Tilt 10–15° upward for best road framing
Coming soon
!
Always check your setup before every ride
Tighten the thumbscrew — make sure it's fully secured Try to tilt the camera — it should not move at all Check the safety tether is attached to both camera and helmet Run a finger around the adhesive base — no lifted edges
✓ 30 s before every ride
Always use the safety tether.
No safety tether = no warranty.
Removing the Mount

Removing
the Mount

Removing the mount correctly protects both your helmet and the mount itself. Take your time — rushing risks damage to the paint or shell.

1/
Weaken the adhesive with heat
Hold a hair dryer 8–10 cm from the sides of the mount and heat the adhesive thoroughly. The heat loosens the bond and makes the mount much easier to remove without damaging the helmet surface. Keep the dryer moving — don't hold it still in one spot.
↑ The more heat, the easier the removal — keep going until the mount feels warm
Coming soon
2/
Work a credit card under the corners
Use a soft flat object — an old credit card works perfectly. Carefully slide it between the mount base and the adhesive, starting from the corners. Work slowly around each corner until you feel the adhesive beginning to release. Never use a knife or metal tool.
✕ Never use metal tools — they will scratch the helmet
Coming soon
3/
Twist the mount off
Once the corners are released, gently twist the Go Moto mount back and forth. Twisting releases the remaining adhesive contact without pulling — this prevents tearing the surface. If you feel resistance at any point, stop and apply more heat before continuing.
✓ Twist, don't pull — twisting releases cleanly, pulling can damage the surface
Coming soon
Adhesive residue left on the helmet?
Warm the residue with the hair dryer and roll it off with your finger or a rubber eraser. Finish with the 3M surface cleaner or isopropyl alcohol to leave the surface completely clean for re-installation.
Re-installation

Re-installing
the Mount

First remove the mount following the Removing section. Then apply a new adhesive pad to the mount base using the steps below. Once done, follow the full installation process again from the top.
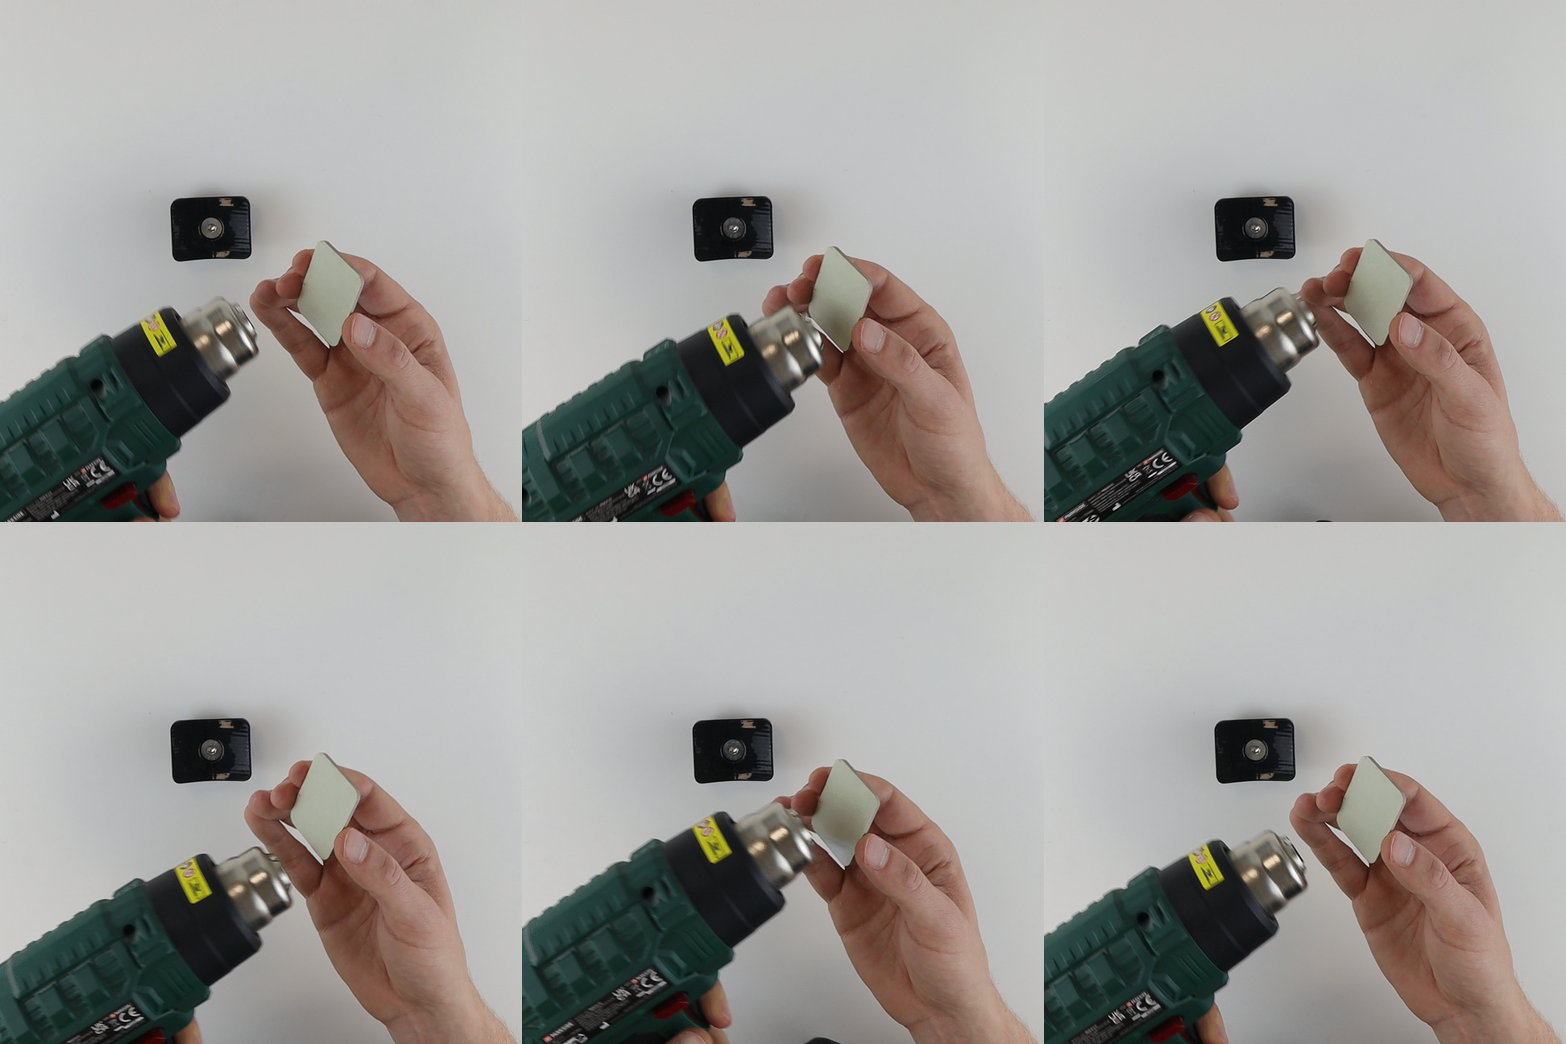
Start by removing the mount from your helmet — see the Removing section above for the correct steps. Then apply a new adhesive pad, and re-follow the full installation process from the top.
1/
Remove the old adhesive from the mount base
Peel or scrape off all old adhesive residue from the back of the mount. If the adhesive is stubborn, warm it with a hair dryer for 20–30 seconds to soften it — it will come loose much more easily. 
Coming soon
2/
Wipe with the alcohol pad
Wipe the cleaned mount base with the 3M isopropyl alcohol pad. Wipe outward — away from the centre — so all residue is swept off. Wait 60 seconds for full evaporation. Do not touch the surface with bare fingers afterwards.
Go Moto Mount
3/
Heat the new adhesive pad really well
Hold a hair dryer 8–10 cm from the new adhesive pad and heat it until the adhesive is fully saturated with heat throughout — not just warm on the surface. The pad should feel genuinely hot to the touch before you apply it.
Go Moto Mount
4/
Apply the adhesive — no air bubbles
Keep one edge of the adhesive pad slightly lifted with a finger and apply it to the mount base from side to side, pressing down gradually as you go. This prevents air bubbles from getting trapped underneath.
↑ One edge up, apply side to side — no air bubbles
Go Moto Mount
5/
Massage the adhesive for optimal bonding and contact
Once the pad is fully in place, press down across the entire surface as hard as you can with both thumbs or your palm. While pressing, gently massage the entire adhesive — moving slowly across the whole surface ensures the adhesive makes full contact everywhere.
✓ Done — now follow the Surface Prep and Install sections again
Go Moto Mount
Troubleshooting

Something
not right?

Most issues trace back to one of the four preparation steps. Check these before contacting support.

This is almost always caused by skipping or rushing the preparation steps. Check each one:
  1. Was the mounting spot found and marked correctly?
  2. Was the surface washed with dish soap?
  3. Was the alcohol pad used?
  4. Was the helmet surface warmed with a hair dryer?
  5. Was the adhesive pad heated until fully warm throughout?
Need to re-install? Select your helmet and grab your Spare Adhesive Kit — includes a pre-cut 3M VHB adhesive pad and 3M surface cleaner.
Warm the lifted edge with a hair dryer for 20–30 seconds, then press it back down firmly using a credit card or something thin and flat. Hold for 60 seconds. If the edge lifts again, the surface may not have been fully clean or the adhesive wasn't warm enough during install. Select your helmet and grab your Spare Adhesive Kit to re-apply — includes a pre-cut 3M VHB adhesive pad and 3M surface cleaner.
Tighten the thumbscrew firmly and check that the low profile bolt is tightened enough. If the camera still shifts, re-seat the buckle mount fully and retighten. Do not overtighten — this can damage the mount arm.
This is completely normal and by design. We've built a small amount of tolerance into the buckle so it can absorb unexpected knocks and impacts without cracking or breaking. The slight movement stays within the buckle mechanism itself — it won't affect your footage.
The mount must be removed and re-installed. A mount in the wrong position won't be in full contact with the helmet surface, which causes the adhesive to fail over time. Warm the adhesive with a hair dryer, carefully pry up the mount using a plastic card. Clean the surface, follow all preparation steps, then select your helmet and grab your Spare Adhesive Kit to re-install.
Select your helmet and grab your Spare Adhesive Kit — includes a pre-cut 3M VHB adhesive pad and 3M surface cleaner.
Warranty & Support

We've got
you covered

Every Go Moto mount comes with a one-year warranty and access to our support team. We answer within 1 business day.

1-Year Warranty
Manufacturing defects covered — no questions asked
12M
Email Support
Reach our team directly. We respond within 1 business day.
support@go-moto.com
Help Centre
Step-by-step guides, FAQs, and tips.
go-moto.com/support
Wrong Fit?
Our Perfect Fit Guarantee: if the mount doesn't fit, make sure it's placed exactly as shown in the product images on go-moto.com. If it still doesn't fit, we'll send the right one or refund you — money back.
support@go-moto.com
Important Warnings & Safety Information

Safety &
Warnings

Read all warnings before installation and use.

Do not use while curingDo not ride or load the helmet mount during the 24–72 hour curing period. Any stress during curing reduces final bond strength.
Always use the safety tetherThe safety tether must always be attached to both the camera and the helmet. Failure to use the tether voids the warranty.
Keep away from small childrenThis product contains small parts. Keep out of reach of small children at all times.
High temperaturesAbove 40°C the adhesive can weaken. Keep the mount out of direct sunlight when parked.
Track riding & liabilityCheck your track or event regulations — some venues require camera mounts to be removed. Go Moto is not responsible for damage caused by improper installation or non-compliance with regulations.
Danger — 3M VHB Surface Cleaner
Contains: Propan-2-ol (isopropyl alcohol) Highly flammable liquid and vapour Causes serious eye irritation May cause drowsiness or dizziness Keep away from heat, hot surfaces, sparks, open flames and other ignition sources. No smoking. Avoid breathing vapours. IF IN EYES: Rinse cautiously with water for several minutes. Remove contact lenses if present and easy to do. Continue rinsing.
Go Moto Liability Notice

Go Moto is never responsible for camera losses. The safety tether must always be used. Adhesive failure can only result from faulty cleaning or improper installation — never from the adhesive itself. Every adhesive batch is tested thoroughly and will never be faulty or dried out at the time of delivery.